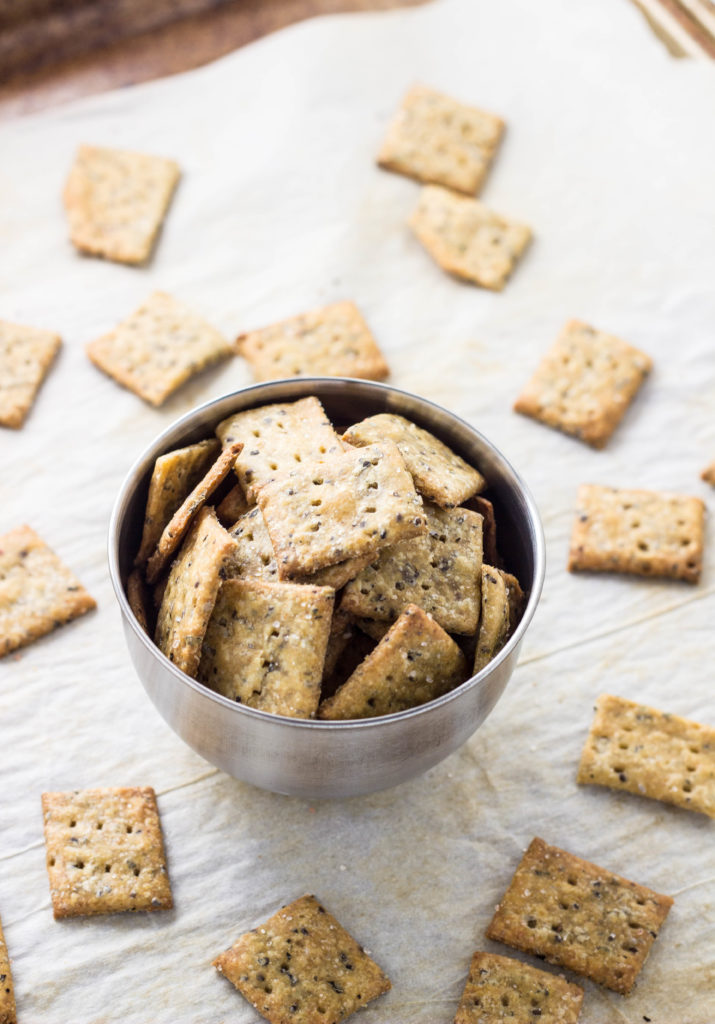
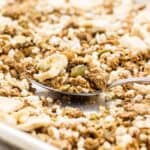
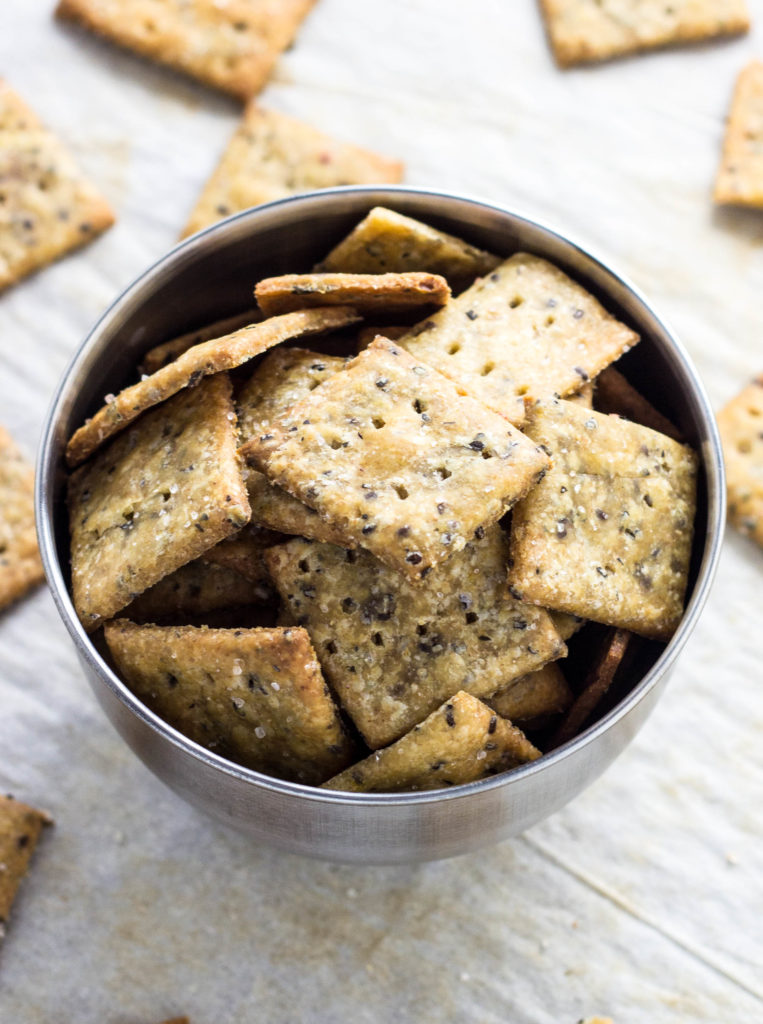
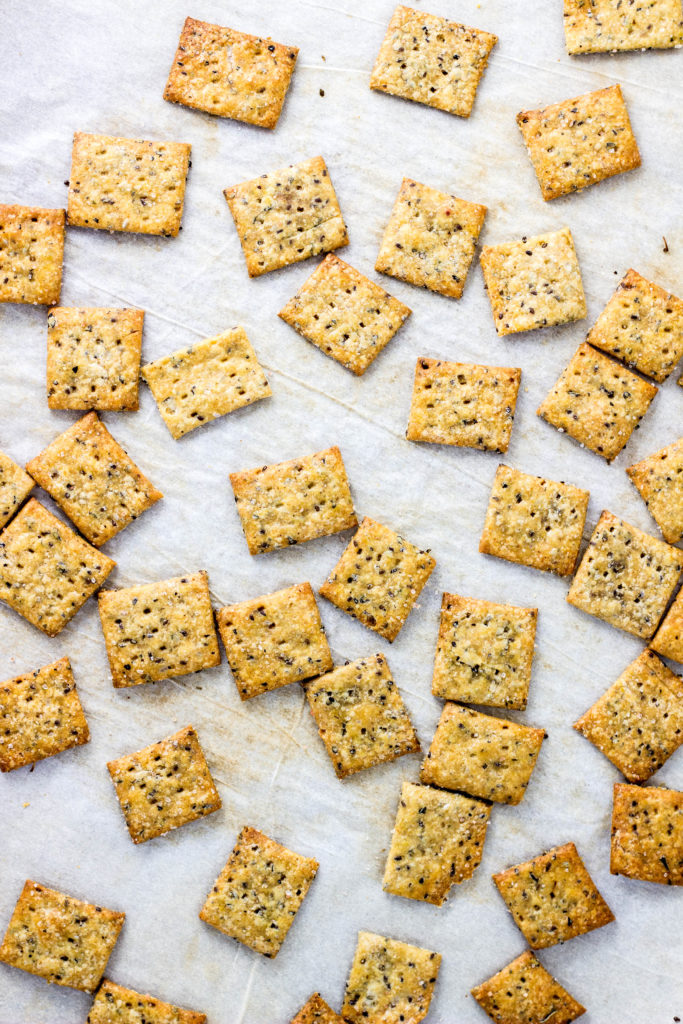
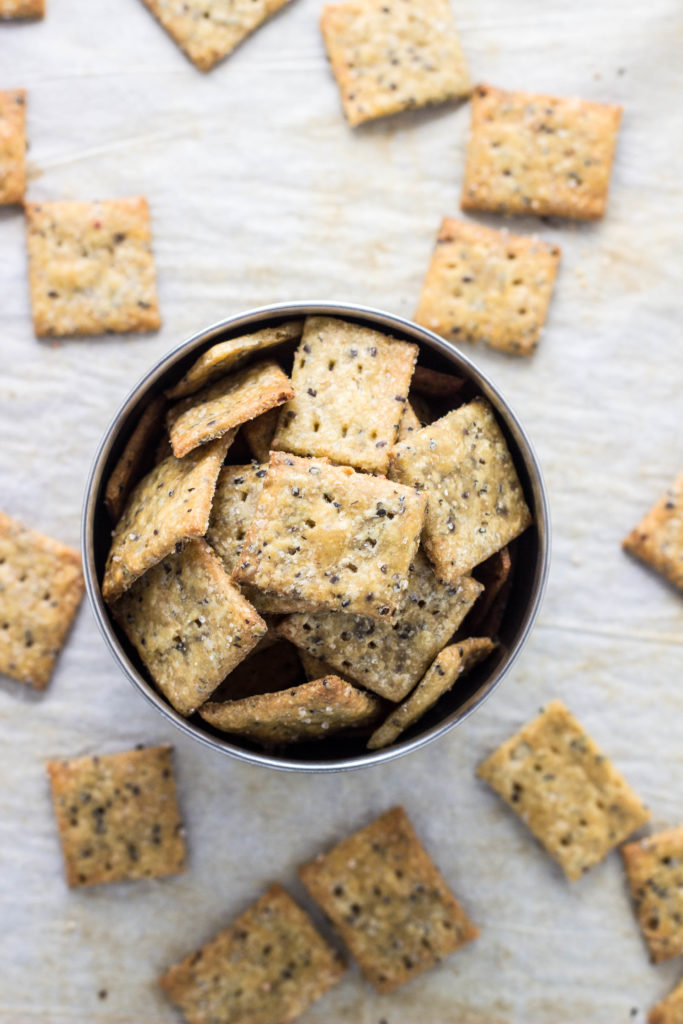
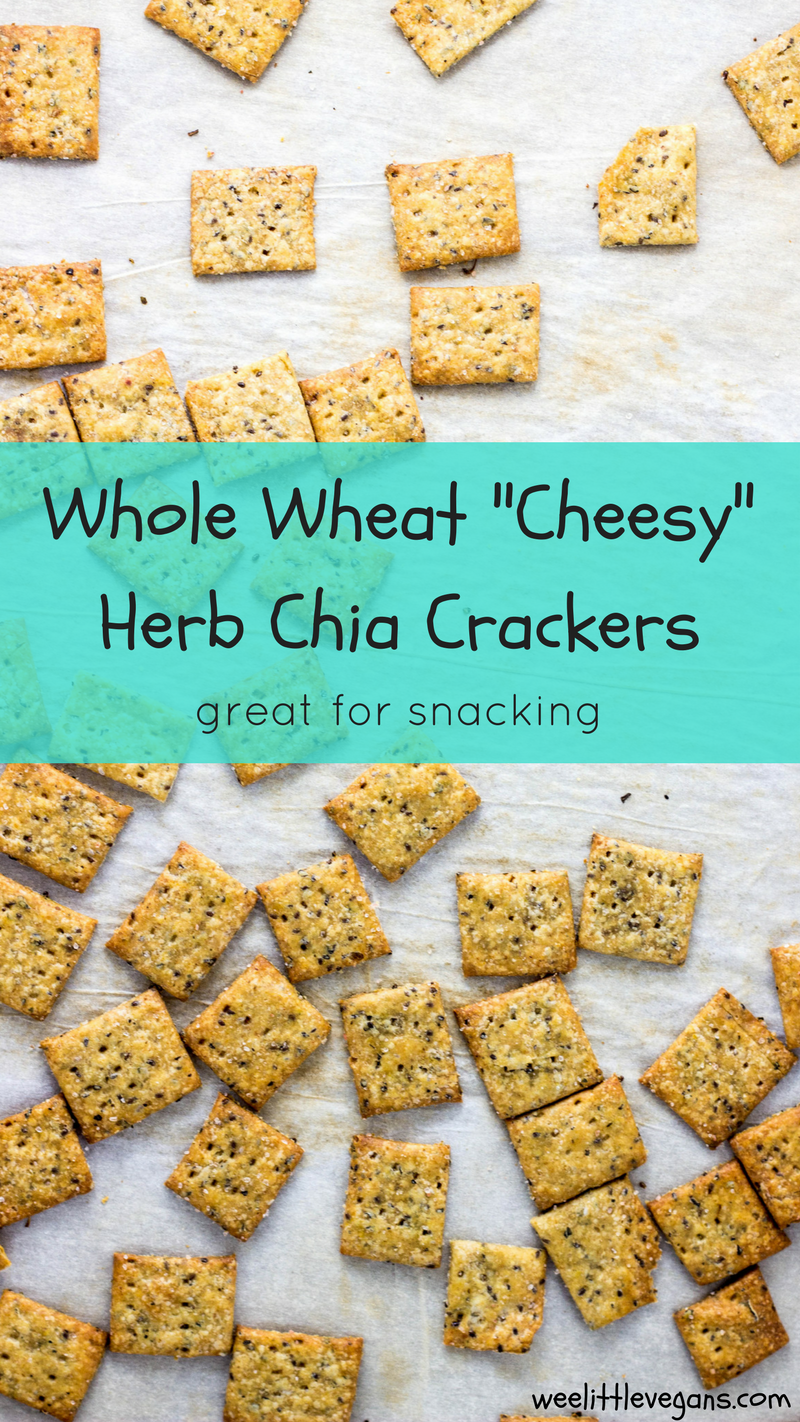
These Whole Wheat "Cheesy" Herb Chia Crackers are simple to make, vegan, and make a great kid friendly snack!
Have you ever made your own crackers before? I love homemade crackers - making them is actually really easy and the flavor possibilities are pretty much endless.
These Whole Wheat "Cheesy" Herb Chia Crackers (yeah, the name is a bit of a mouthful!) have been on repeat around here for a little while now and it's about time I shared the recipe, don't cha think?
Homemade crackers may seem daunting, but it really is quite simple even for a beginner baker. This is a great way to introduce kids to baking as many of the techniques involved are easy enough and are the basis for other baked goods like pie crusts, tarts, and biscuits.
I choice not to use any fancy gadgets or machines to make crackers, just basic kitchen equipment you likely have and the best tools, your hands. A lot of recipes for crackers involve a food processor, but there's little to no chance of over working the dough if you go basic and just knead by hand. You'll learn better how the dough should feel so you can make adjustments and ultimately have a tastier baked good. Plus developing basic techniques like this will make you a better baker!
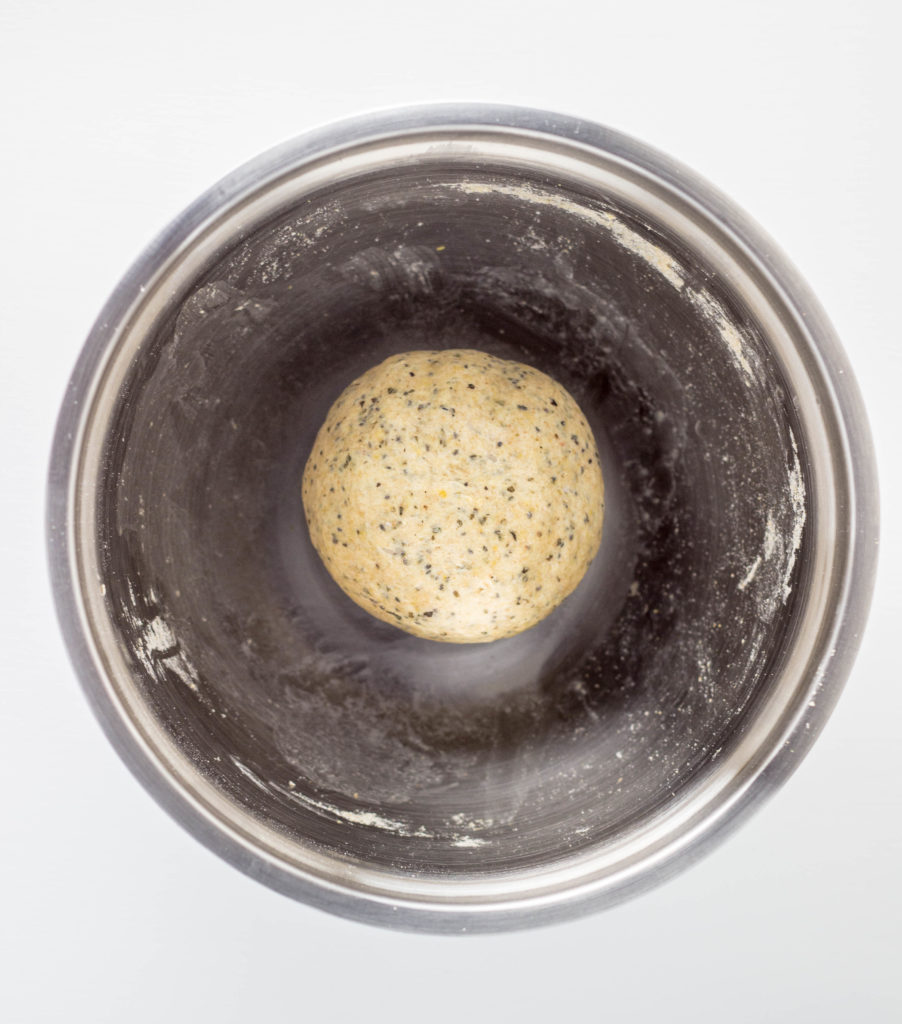
Nutritional yeast adds a great "cheesy" flavor and chia seeds add a little extra crunch plus nutrients. From what I have read, baking does not seem to diminish the nutritional value of chia seeds much, in case you're worried about that. (source)
This recipe is about as simple as it can get, but I do have a few tips to make sure your crackers come out great!
For the yummiest crackers:
- Coconut oil works great as a vegan substitute for the typical butter used in a lot of cracker recipes. The most important thing about coconut oil is the temperature. You want the oil to be firm, but not hard chunks, and definitely not liquid. It should be easy to scoop with a spoon and not drip at all. If you live in a warmer climate, you may need to refrigerate, stirring every 5 minutes or so until a scoop able consistency is reached. If the oil is too hard use a warm water bath to heat the oil a bit without melting it.
- Water is what brings everything together creating a lovely dough so it's super important to be sure the water is very cold. If the water is too warm it will melt the oil and your won't get crispy, flaky crackers. I use water we store in the fridge, but you can also add ice to a bowl a few minutes before you will need it. You also only want to use the minimum amount of water needed to create the dough, which should be soft and pliable, but not sticky. Add the water a tablespoon or two at a time and knead until incorporated. If the dough is too dry and cracking add a little more water and knead again.
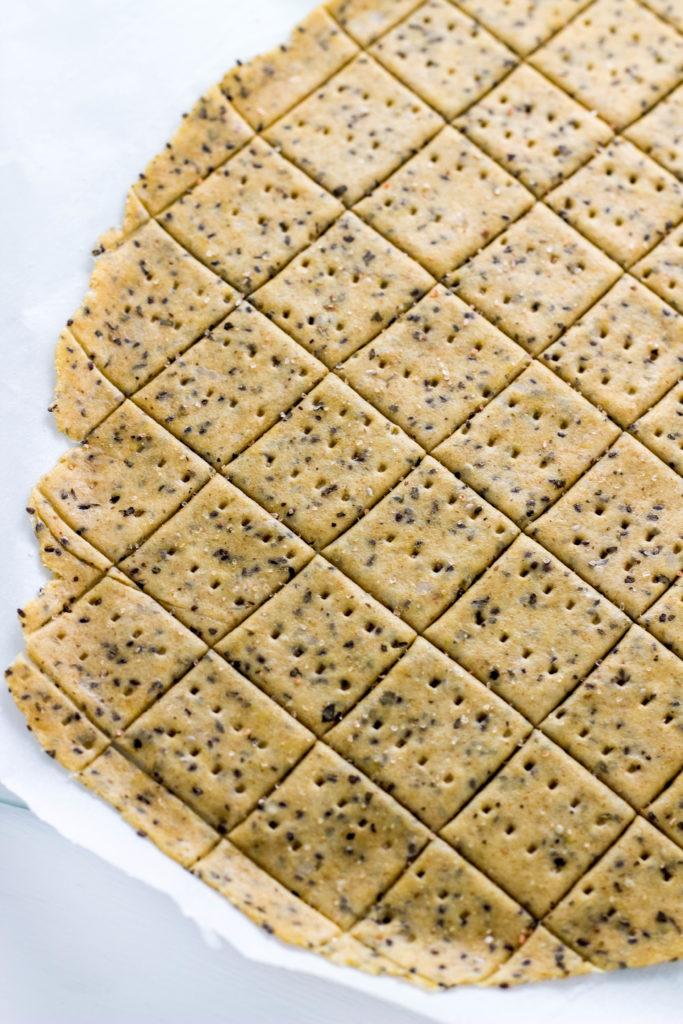
- Rolling out the dough the thinner you can get it, the crispier and better the crackers will be. The best way to do this is, is by rolling the dough out between sheets of lightly floured parchment paper. Aim for a thickness of 1/16 to ⅛ of an inch for the crispiest result. Also, rolling on parchment paper will make it so much easier to transfer the crackers to the baking sheet. Just lift the paper and place on baking sheet.
- Pricking the crackers with a fork before baking allows steam to escape and prevents them from puffing up. Don't forget this step!
- Baking the crackers on parchment paper is something I always do. It helps the crackers bake more evenly especially if you have darker pans and makes transferring the crackers to and from the baking sheet much simpler. These crackers bake quickly so I don't recommend walking away from the oven for long. After the first 8 minutes you will want to watch closely and remove the crackers on the outer edges as they brown. Also, I don't separate the crackers from each other until after the first 8 minutes of baking because the dough is so thin it can be tough to handle. After the crackers bake a bit, it's much easier to separate for a more even bake and overall crispiness.
And that's really it! Keeps these things in mind and you should have no problems baking up a delicious batch of crispy crackers.
Recipe
Whole Wheat "Cheesy" Herb Chia Crackers
Ingredients
- 1 cup white whole wheat flour
- 2 tbsp nutritional yeast
- 2 teaspoon chia seeds
- 1 tsp dried basil, oregano, parsley, or a combination
- ½ tsp salt + more for topping, if desired
- ¼ teaspoon garlic powder
- ¼ teaspoon onion powder
- 3 tablespoon coconut oil, firm but scoop-able
- 4-5 tablespoon very cold water
Instructions
- Preheat oven to 400 degrees and set aside 2 baking sheets.
- Combine flour, nutritional yeast, chia seeds, salt, onion powder, garlic powder, and herbs in a large bowl.
- Cut in coconut oil with a pastry blender, a fork, or your fingers until only very small bits of oil remain and mixture is crumbly.
- Add COLD water a little at a time and incorporate it into the flour mixture by stirring and then kneading until a small dough ball forms.
- Divide dough ball and form into small discs. Place one disc between two pieces of parchment paper, lightly flour if needed, and use a rolling pin to roll into a very thin sheet. The thinner it is, the crisper the crackers will be.
- Use a pizza cutter to cut 1 inch squares or desired size. Do not separate the squares. You can remove the edge scrapes and roll again to create squares, if desired. I don't worry about this and just bake as is.
- Prick each cracker with a fork a couple of times and sprinkle with additional salt if desired.
- Transfer crackers still on parchment paper to baking sheet. Sprinkle with additional salt, if desired. Complete this same process with the second disc of dough.
- Bake for 8 minutes and check for browning. The edges will bake and brown faster. Separate the crackers at this point. Remove crackers as the brown to your liking and continue to bake remaining crackers. Total bake time is about 12 -15 minutes.
- Remove from oven and allow to cool completely before storing in an air tight container.


Jackie
Wow! Made these tonight and they were SO good. They are going to be a snack for an upcoming road trip but I will definitely make them again. I'm also surprised by how easy they were! I'm a vegetarian and not vegan so I used butter instead of coconut oil. I was a tad worried about keeping the oil a solid and it was easier for me with the butter. I also didn't need to divide the dough into two balls. Had no problems with sticky dough or breaking up the crackers before hand and they all finished baking at the same time. So pleased!
Melissa
Yay! I'm so glad to hear you like them and had no trouble making them, Jackie. Thanks for sharing how the recipe turned out for you too and enjoy your road trip!!
Jodi
I made these crackers this morning, before doing much of anything else, and I just ate them with some curried chickpea salad I made last night. I can't decide what was more fun -- making the crackers or eating them, but WOW, are they ever delicious! This was my first time making crackers, so I was thrilled that my first try was such a success! I can't wait to make these again, varying the herbs each time, "just to see". I don't even think I have to look any further for my "go-to" cracker recipe. Thank you! (P.S. I posted a photo on Instagram and tagged you.)
Melissa
I'm thrilled you enjoy the recipe, found it easy and fun too! I like to mix up the seasonings from time to time too. The flavor combos are endless! Thank you for sharing your feedback here and on Instagram, I really love seeing the photos!
Sup
Is it 1 tsp of each herb or 1 tsp combined total of all herbs?
Melissa
1 tsp total. You can use one type or any combination you like.