
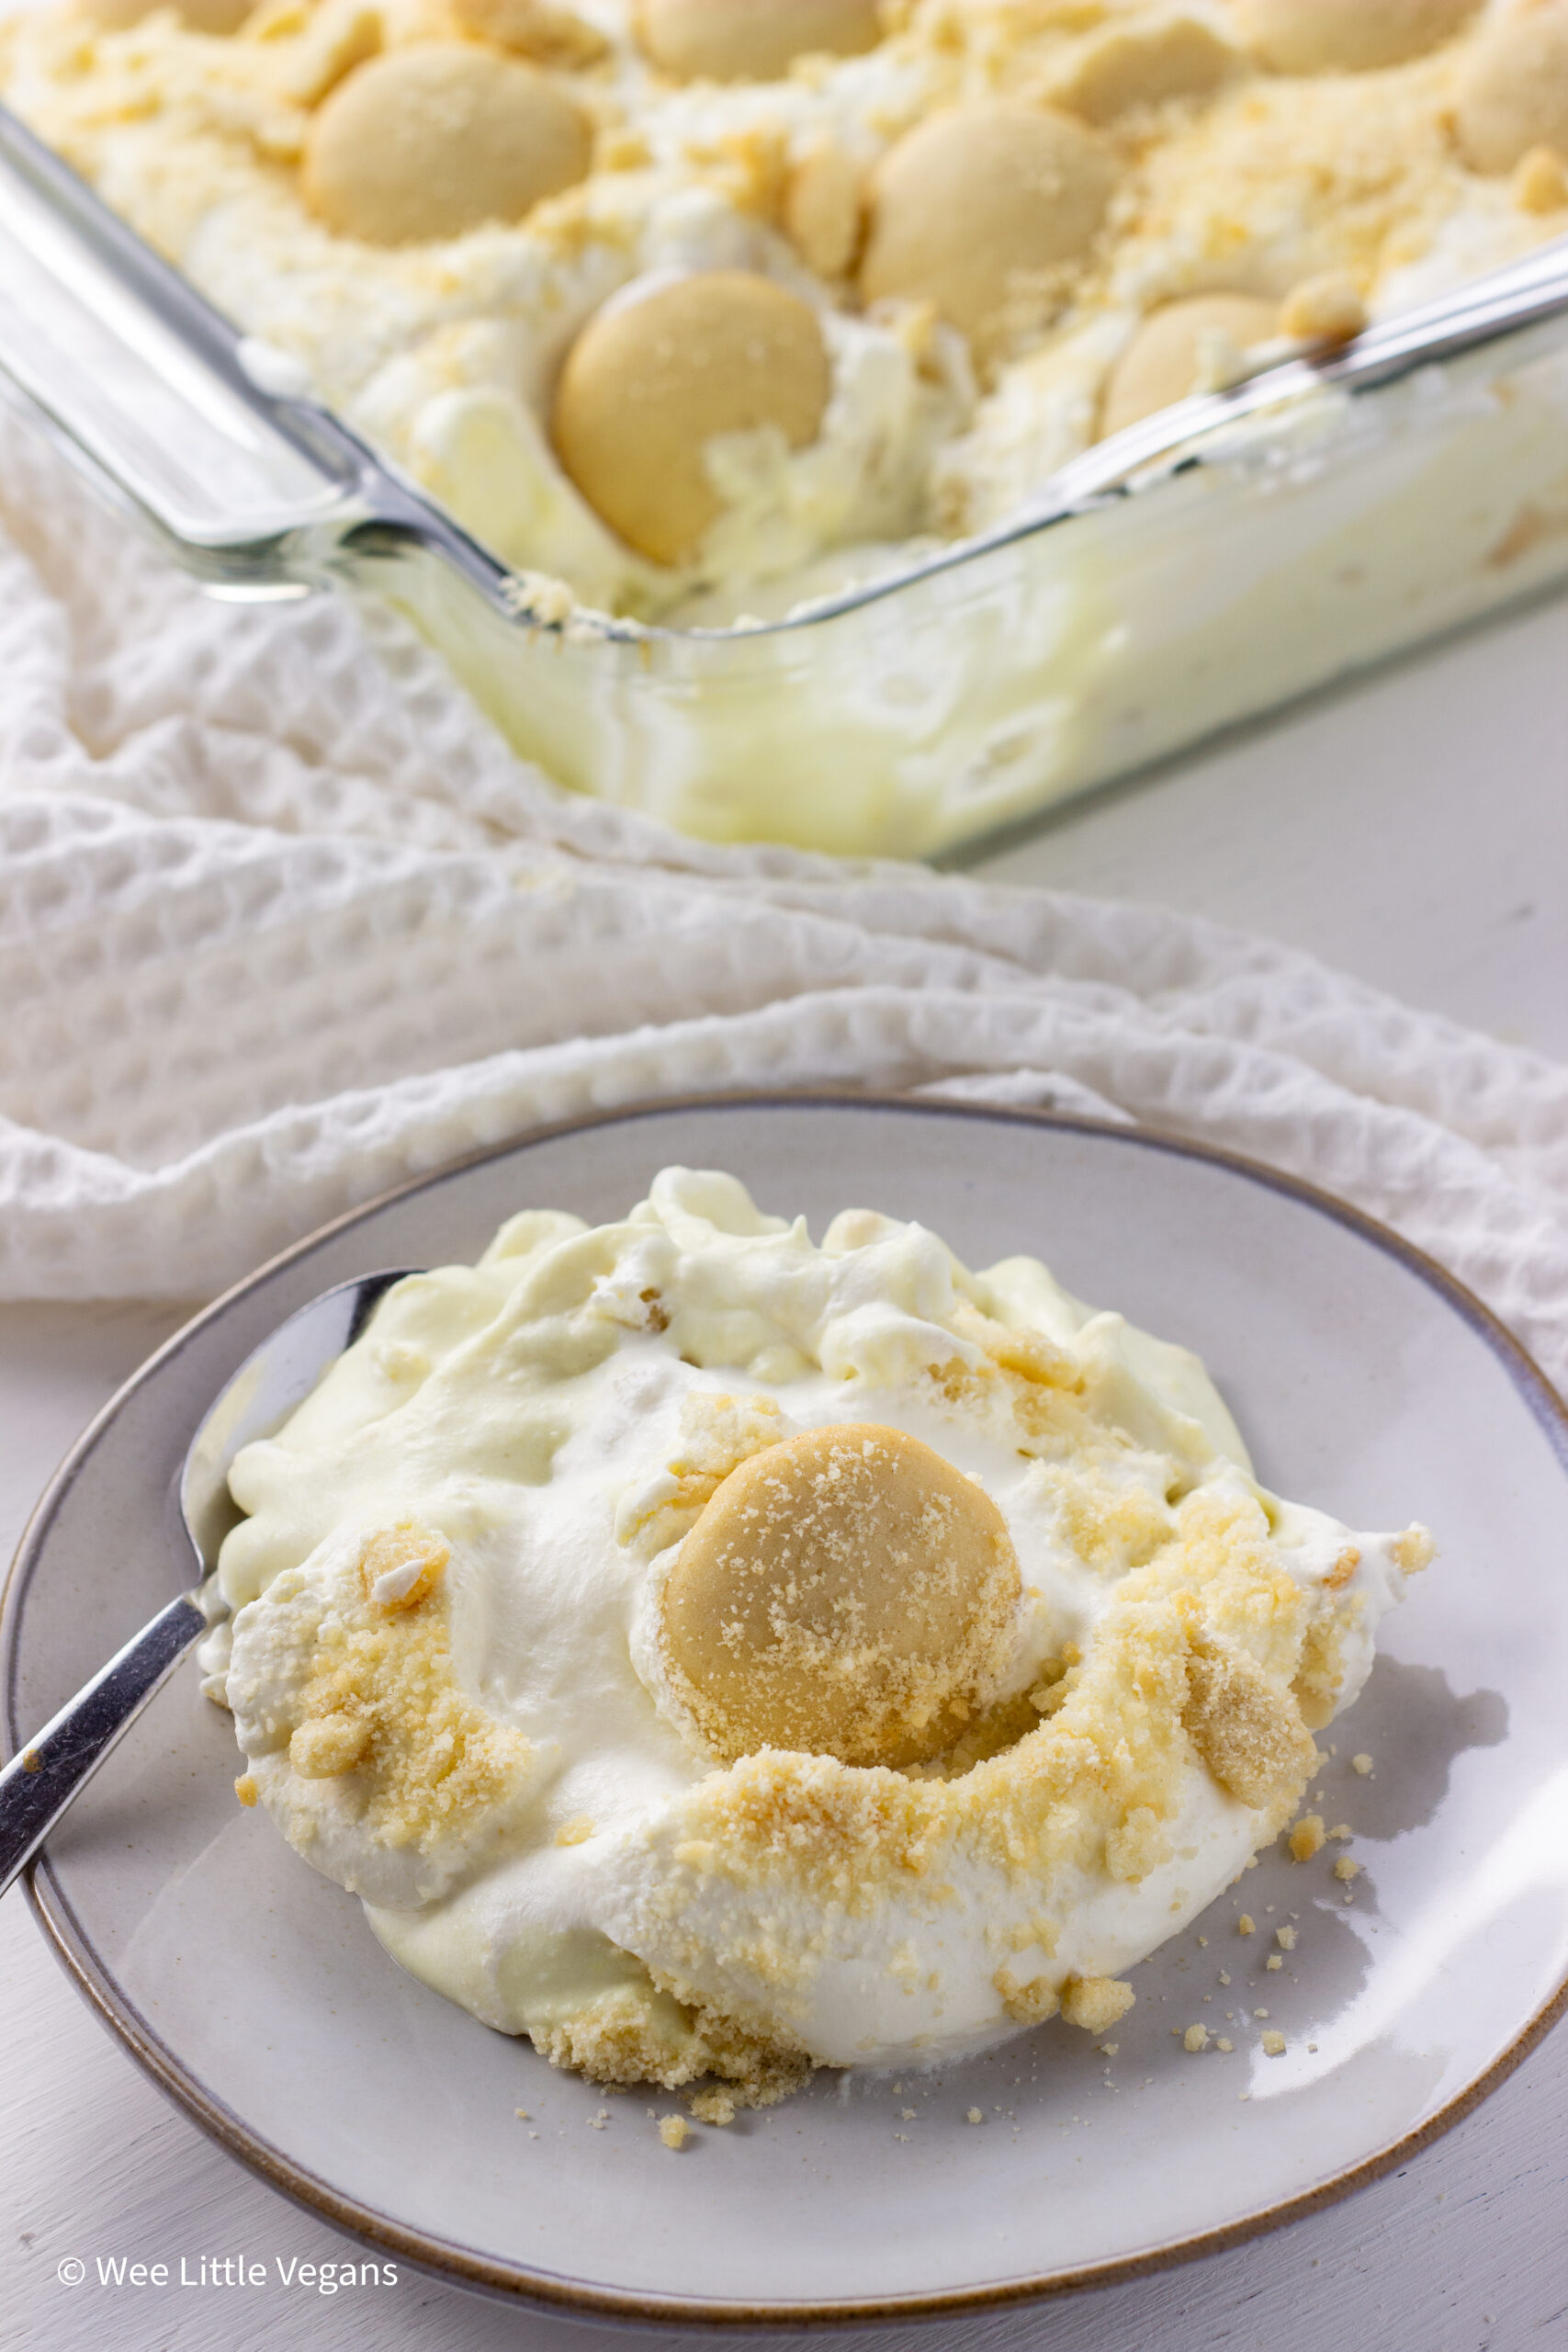
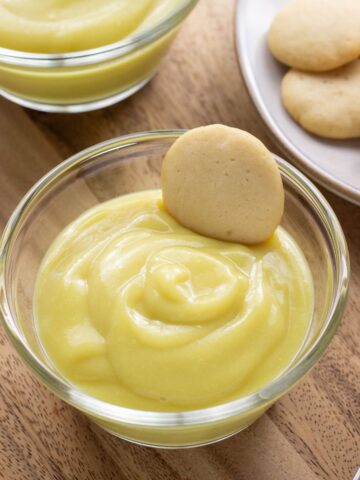
Vegan Banana Pudding made with real banana flavored pudding, homemade vanilla wafers and non dairy whipped cream.
Growing up in the south I've had my share of banana pudding. One thing I never understood is why it is called banana pudding when it is actually made with vanilla flavored pudding. This was always disappointing to me. I didn't care for the banana slices either. So I made this banana pudding the way I always wanted it to be with real banana flavored pudding made from scratch and no banana slices.
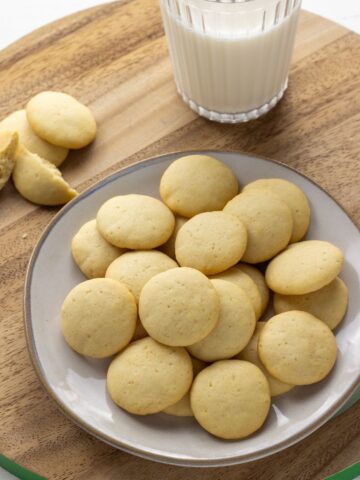
For this recipe, you will need to make this banana flavored pudding first. As well, as these easy vegan vanilla wafers. Both recipes are easy and can be made up to a few days ahead.
Jump to:
Ingredients
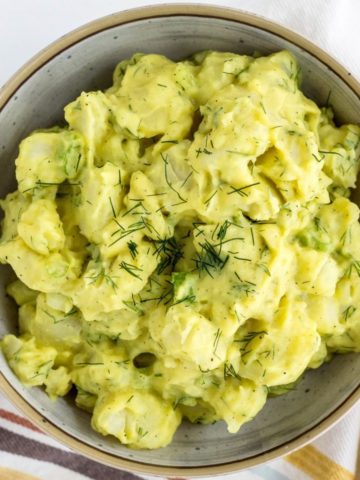
Banana pudding consists of three ingredients - vanilla wafers, pudding and whipped cream. To make this vegan we used homemade vanilla wafers, my banana flavored pudding and whipped cream made from plant cream. If you're short of time store bought varieties of all the ingredients are available. See the substitutions and variations below for more information on that.

- non dairy banana flavored pudding
- vegan vanilla wafers
- non dairy whipped cream
See recipe card for quantities.
Substitutions & Variations
- Pudding - if you don't have time to make the pudding Jello banana instant pudding is vegan. See notes below in recipe card for how to use instant pudding.
- Plant cream - you can also use canned coconut cream or milk to make whipped cream or even a store bought non dairy whipped cream.
- Wafers - there are a couple of brands of vegan vanilla wafers available in stores if you don't have the time to make them yourself.
- Fresh Fruit - add fresh banana slices if desired.
How to make Vegan Banana Pudding
Assembling the pudding is fairly simple once you've made the components. You can use a store bought non dairy whipped topping, coconut cream or milk or plant cream as I have. If you use coconut milk be sure to chill the can for 24 hours before needed to ensure the cream has firmed up enough.
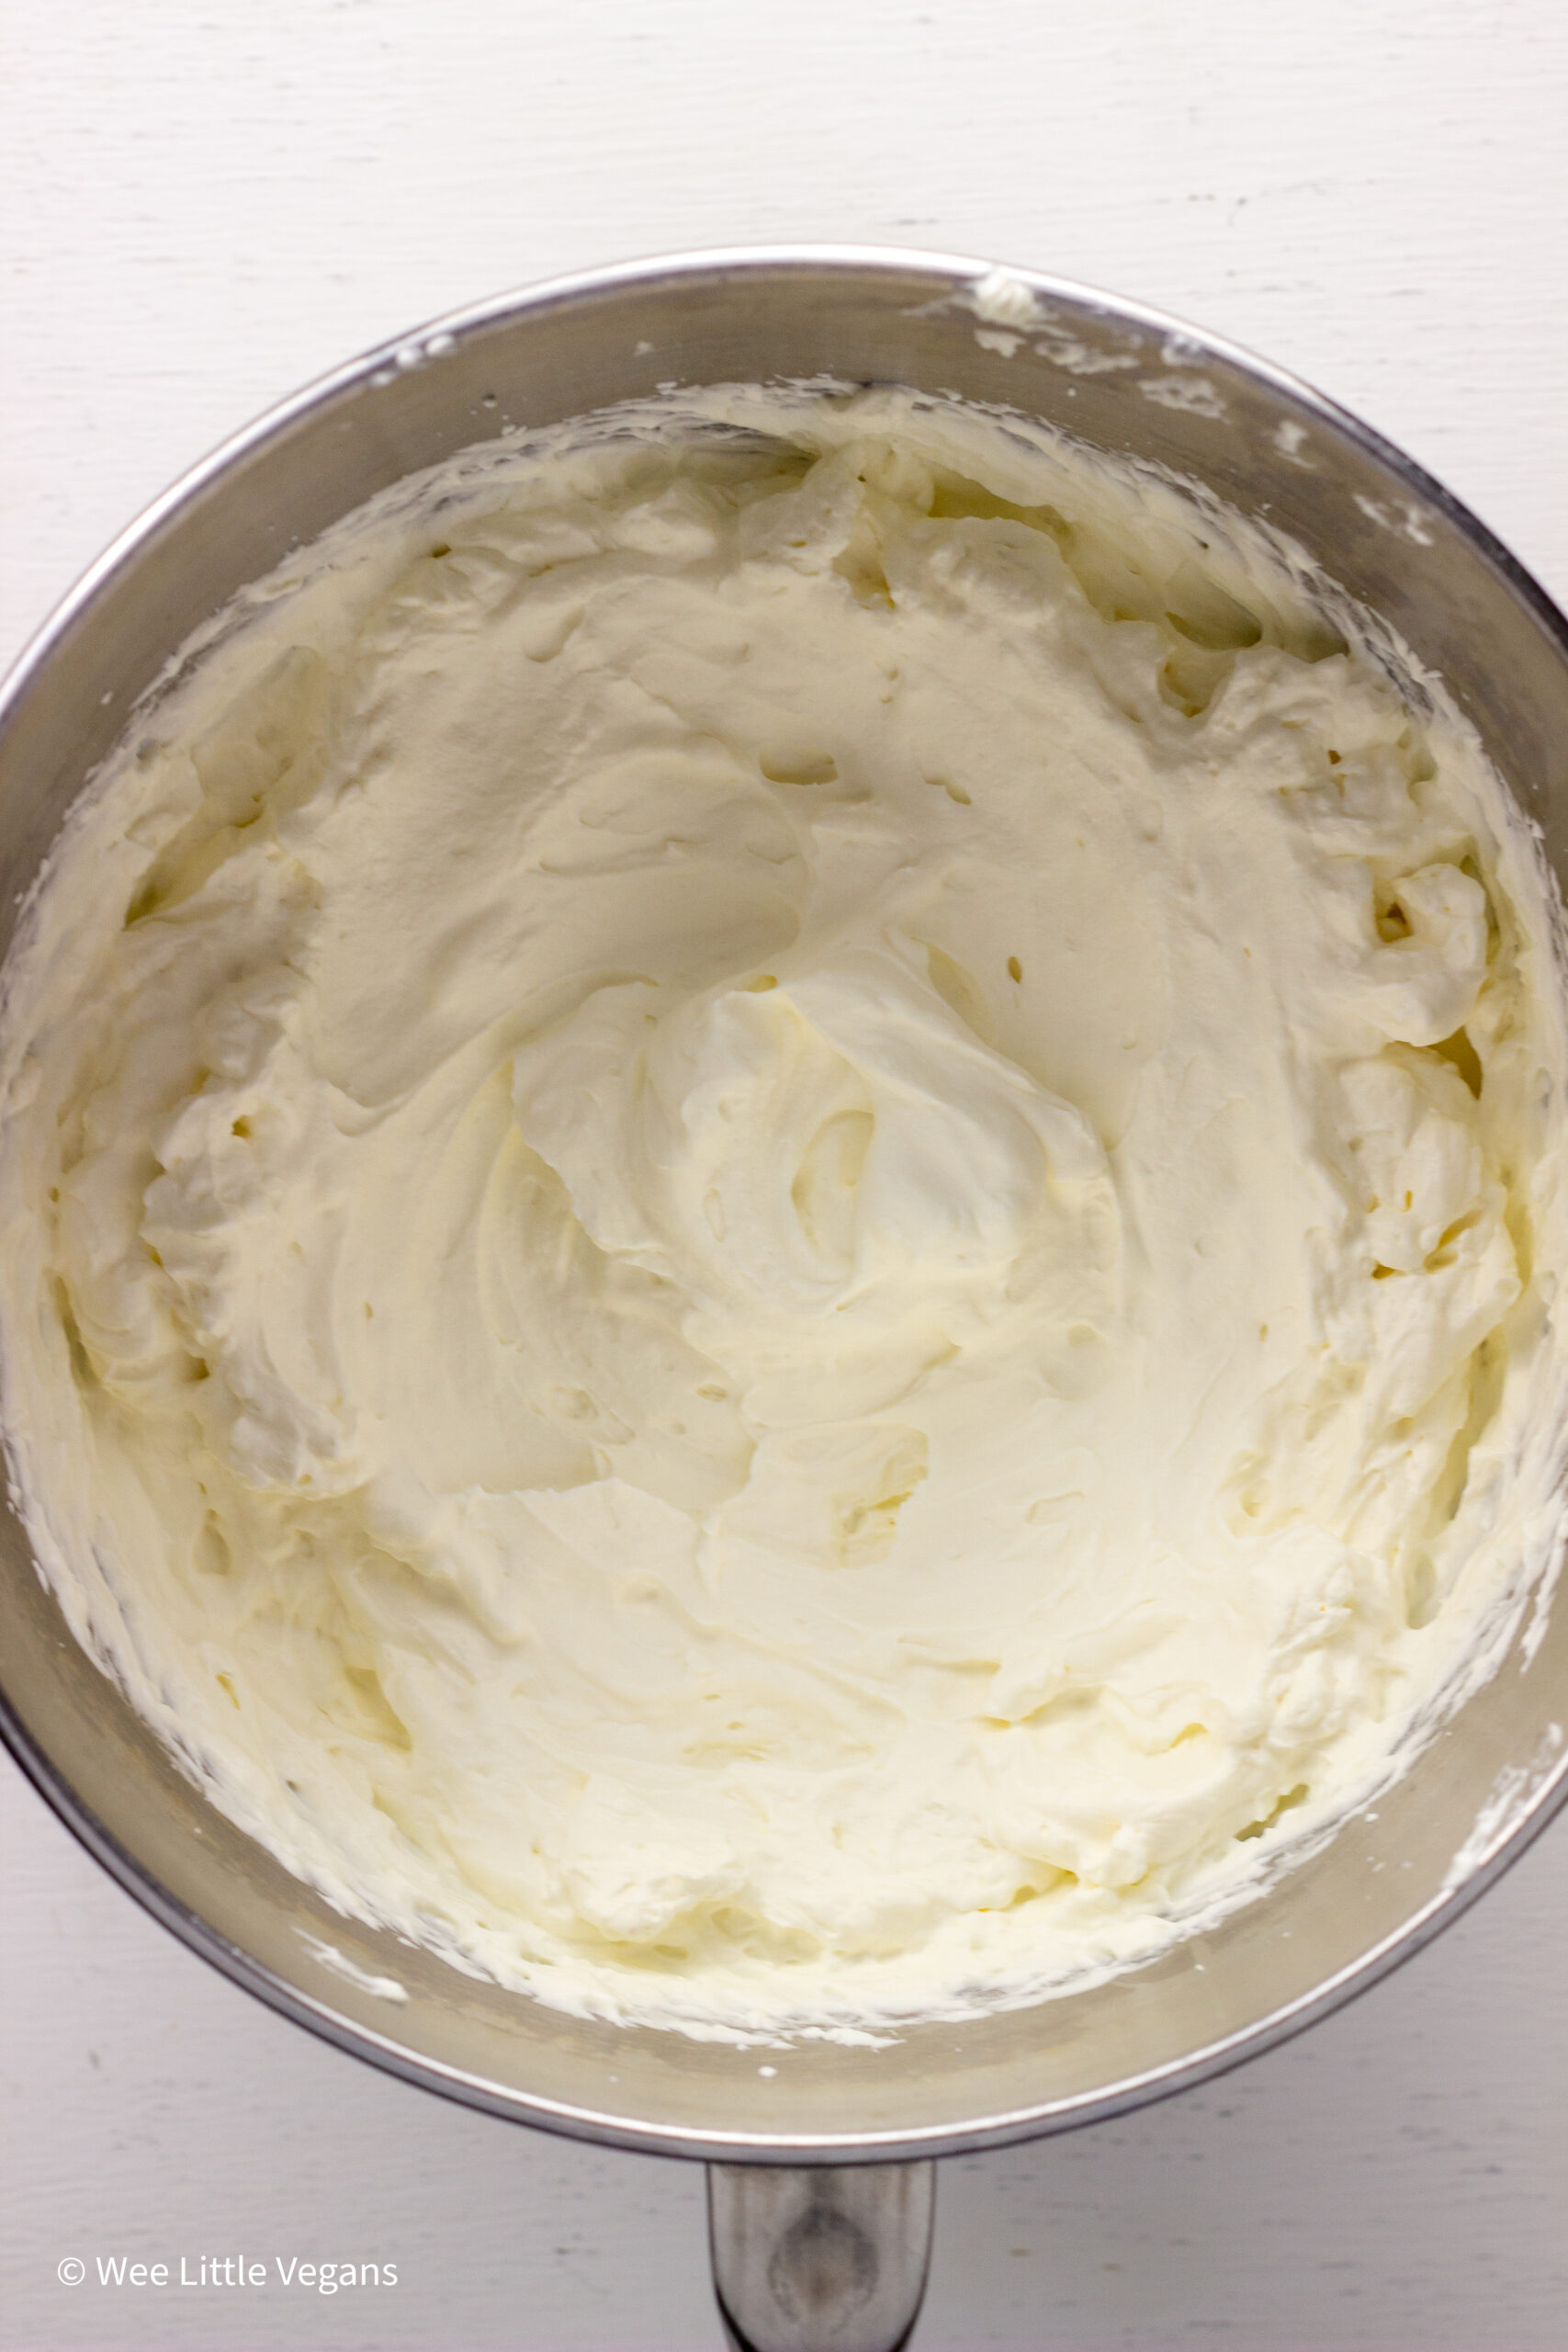
Pour plant cream or coconut cream into bowl of mixer and whip until soft peaks form. Add in vanilla and powdered sugar and continue to whip for a minute longer.
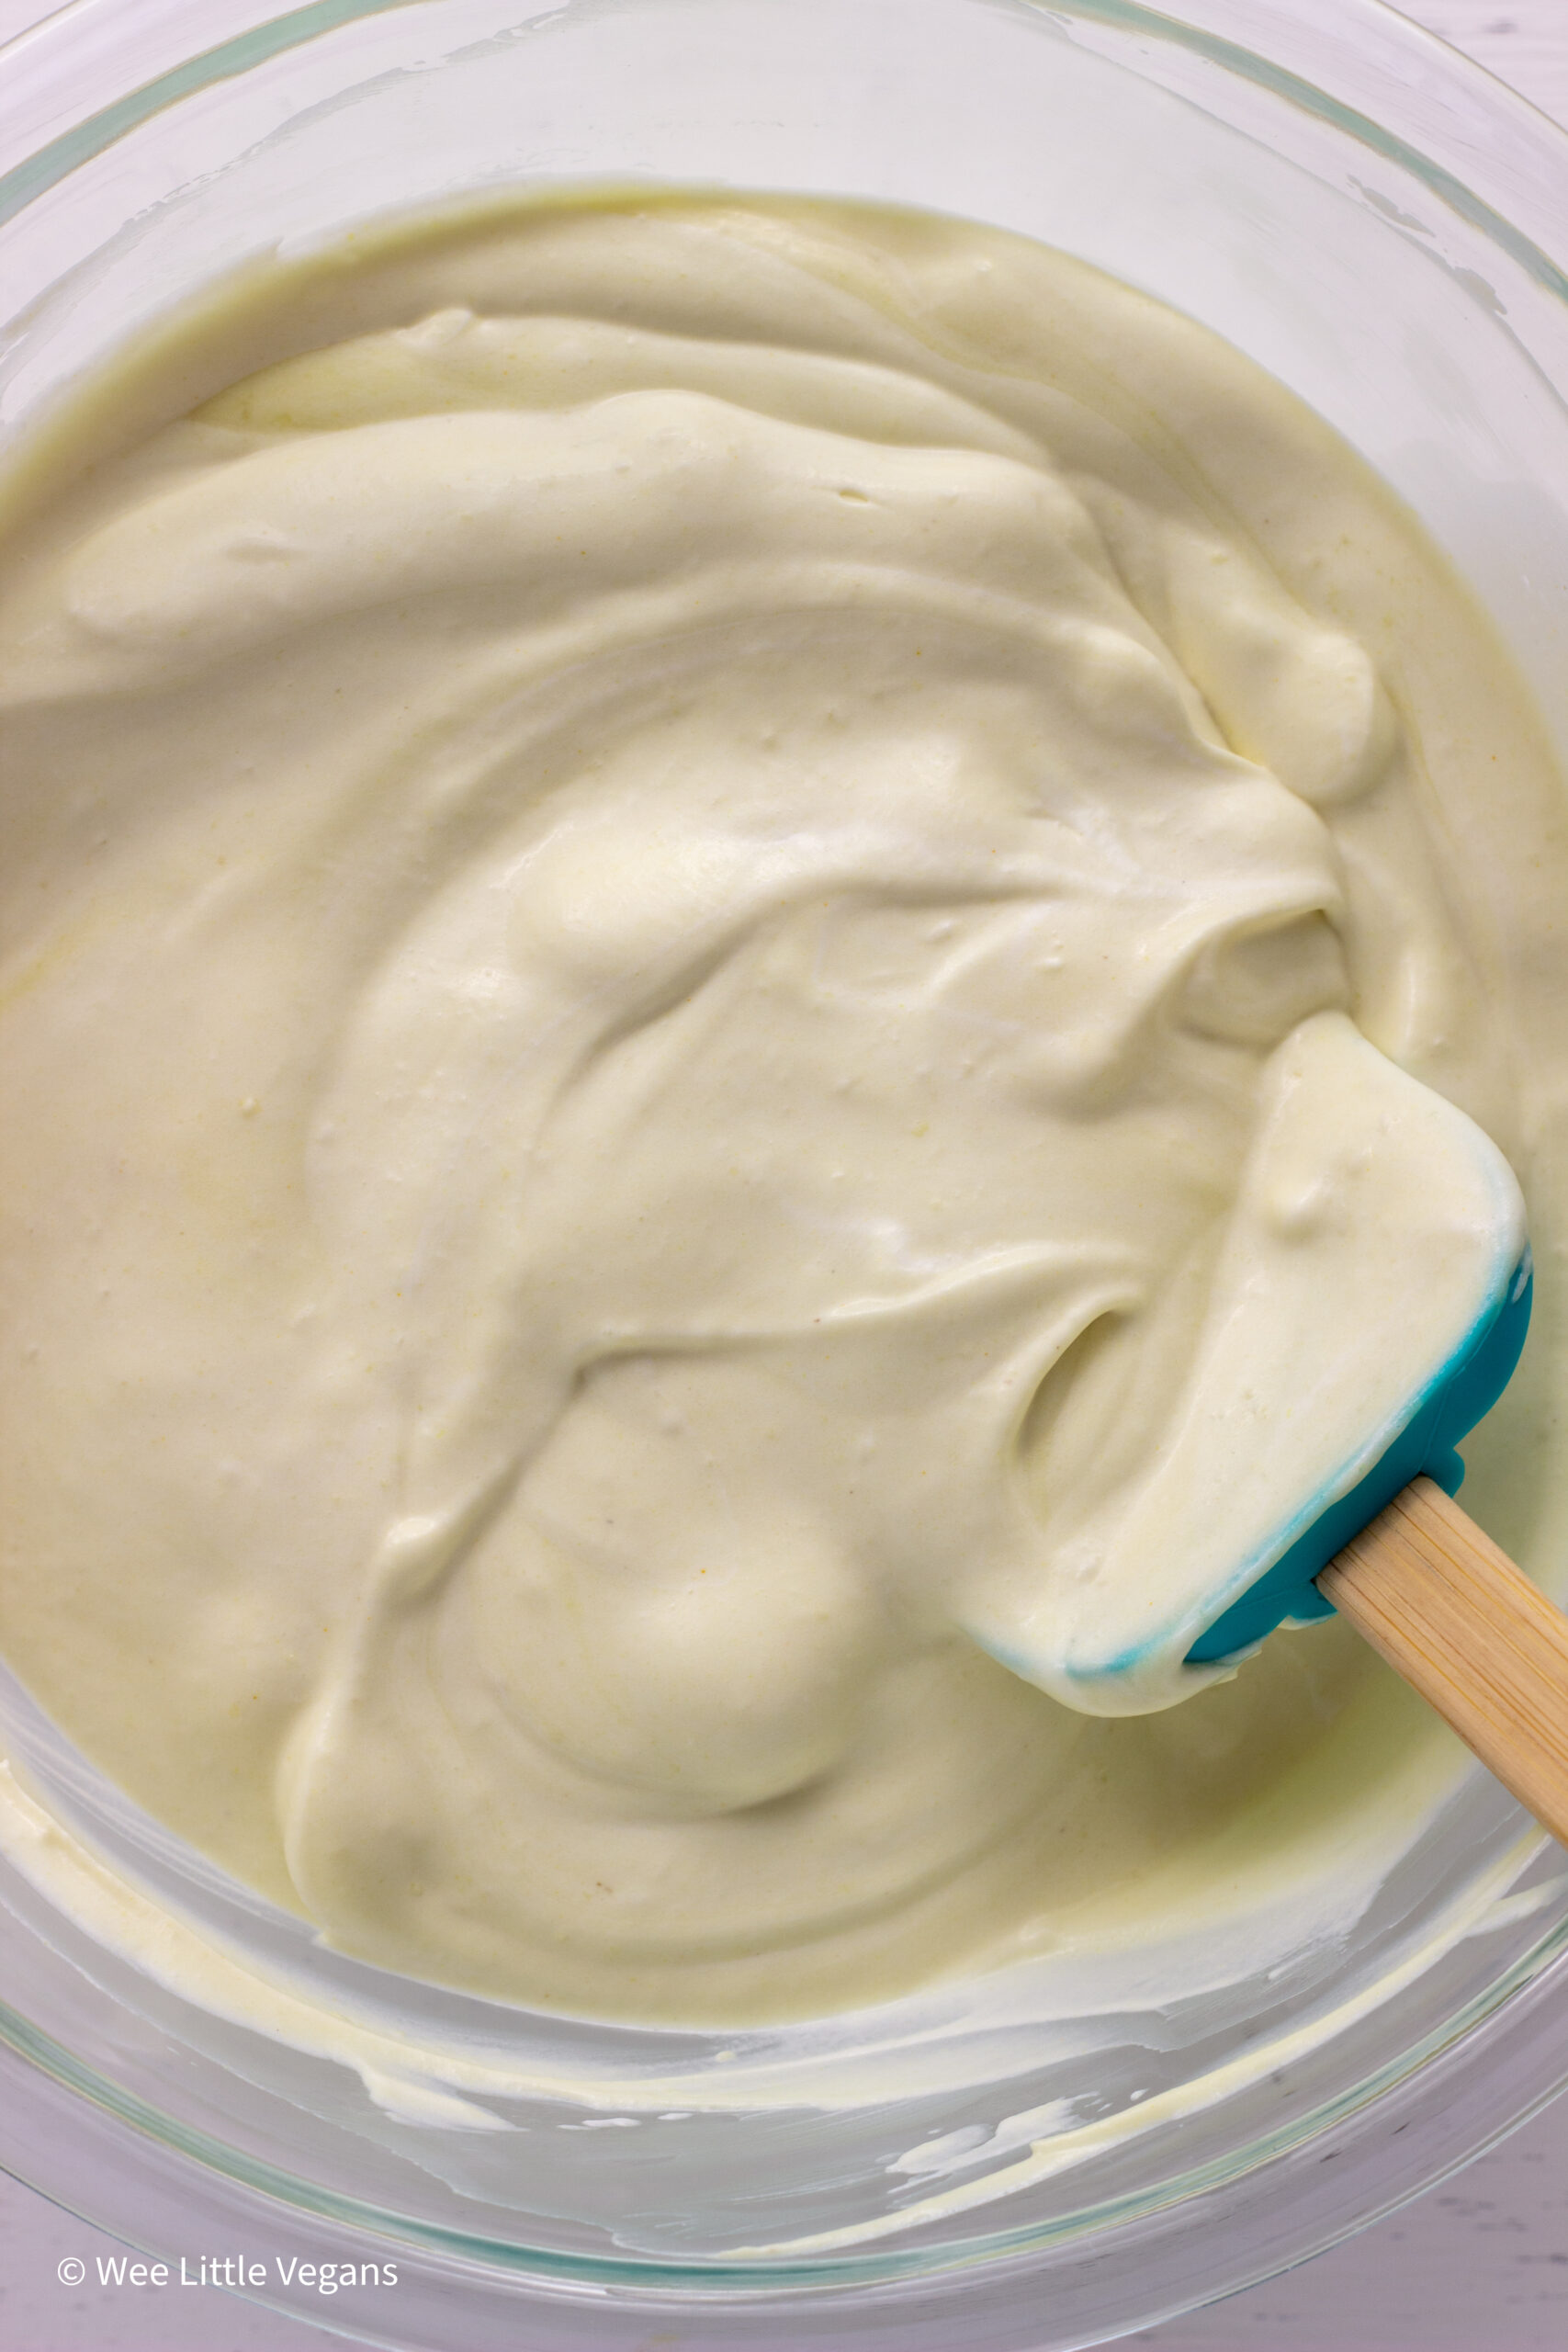
Fold whipped cream into banana flavored pudding until no streaks remain. Add as much or little whipped cream as you like. Reserve some for the top of the dessert.
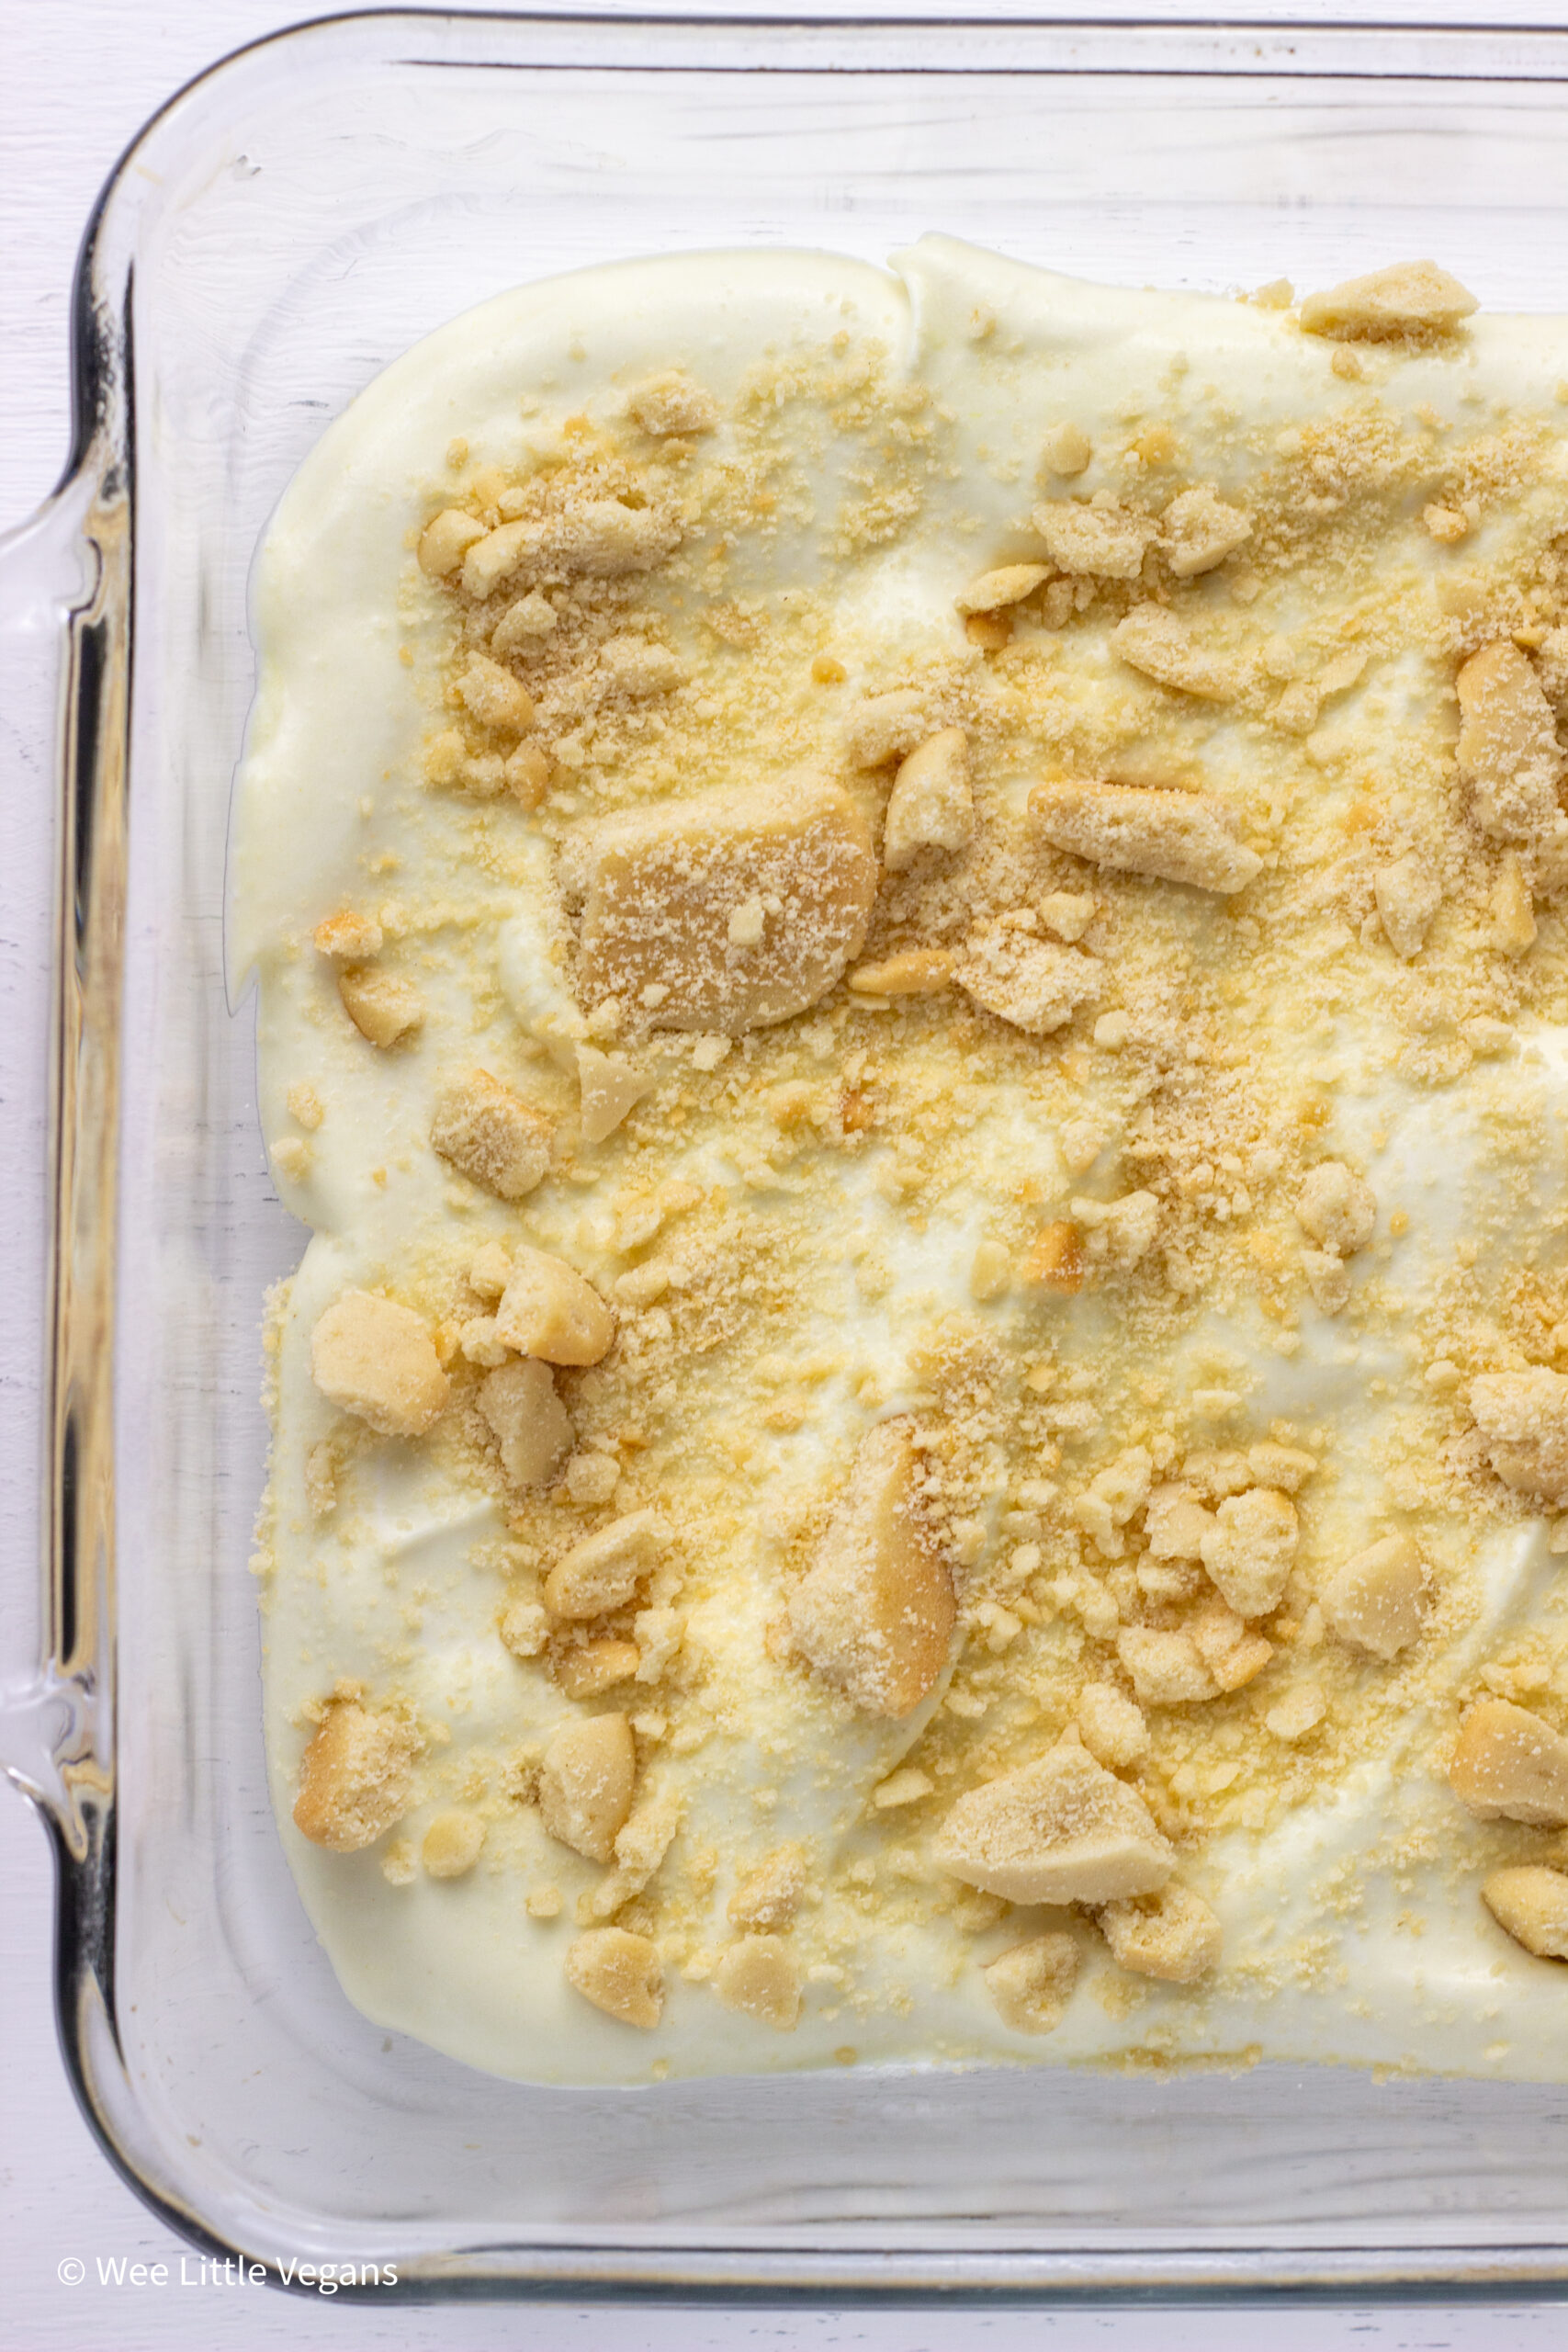
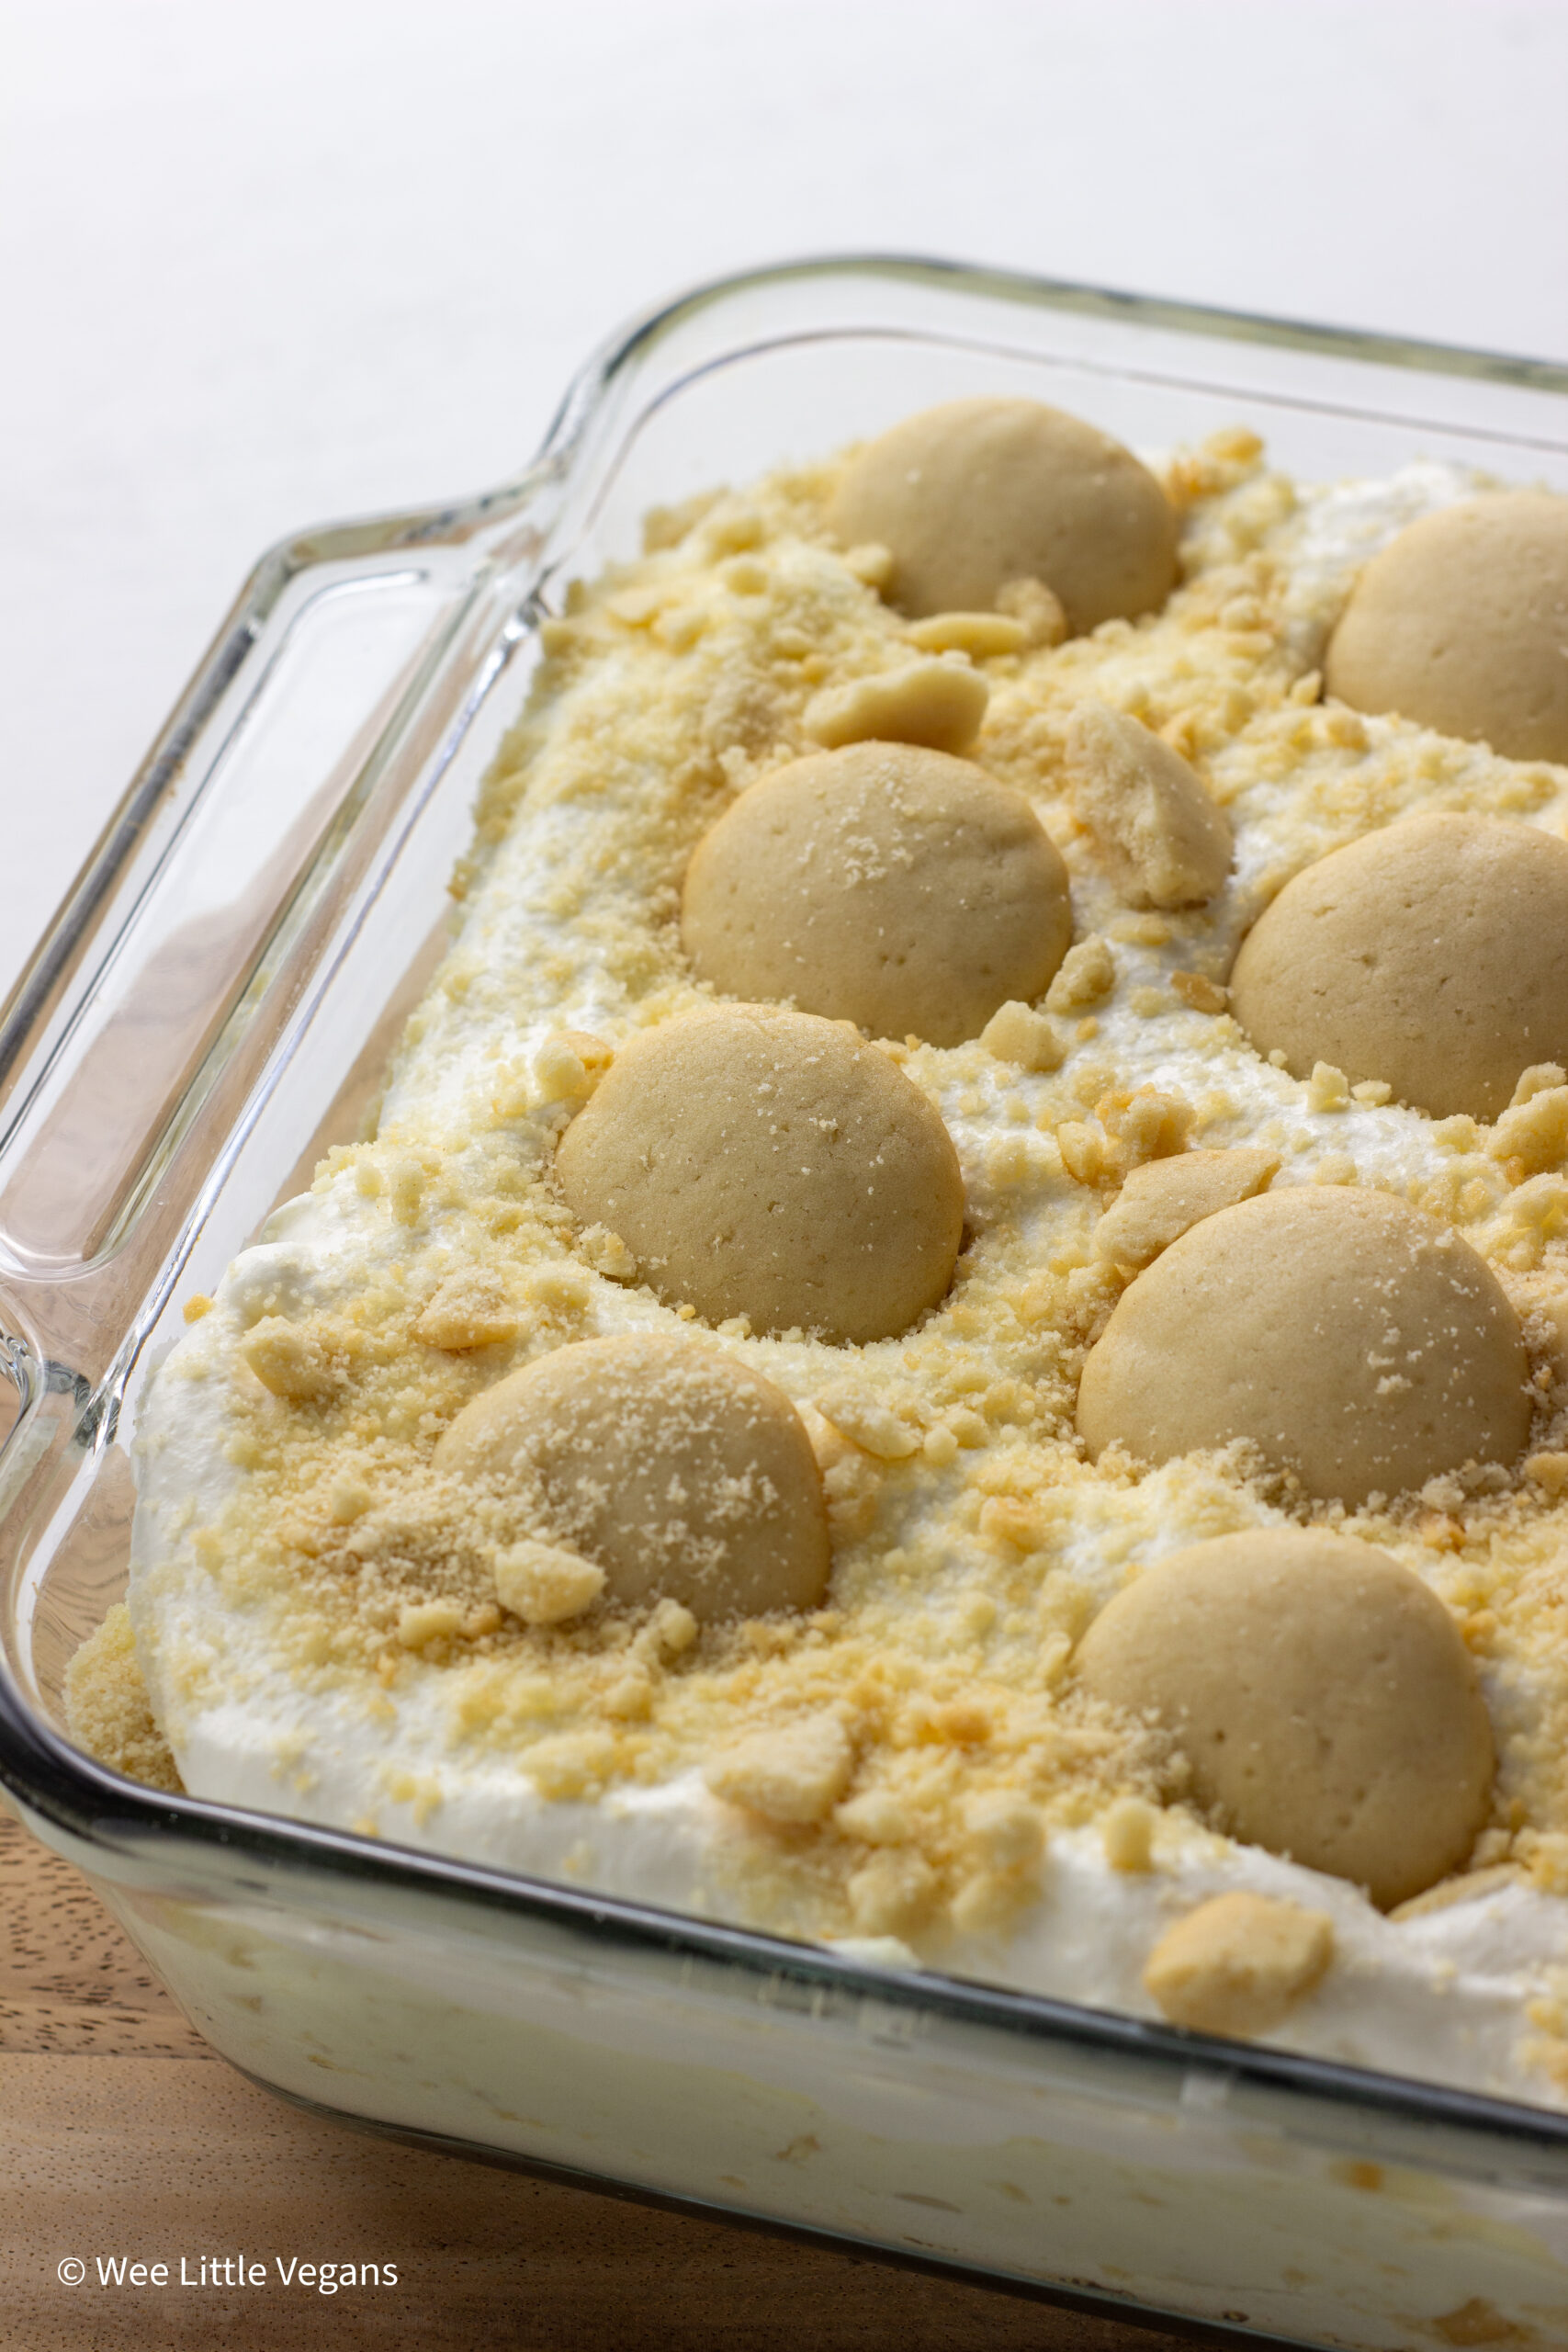
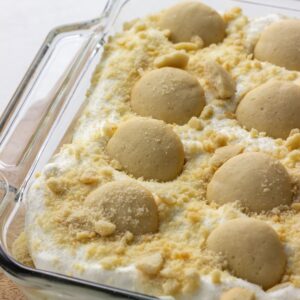
Spread pudding over the bottom of an 8x8 baking dish. Sprinkle with wafer crumbles or layer whole cookies over pudding. Continue layering until no pudding remains.
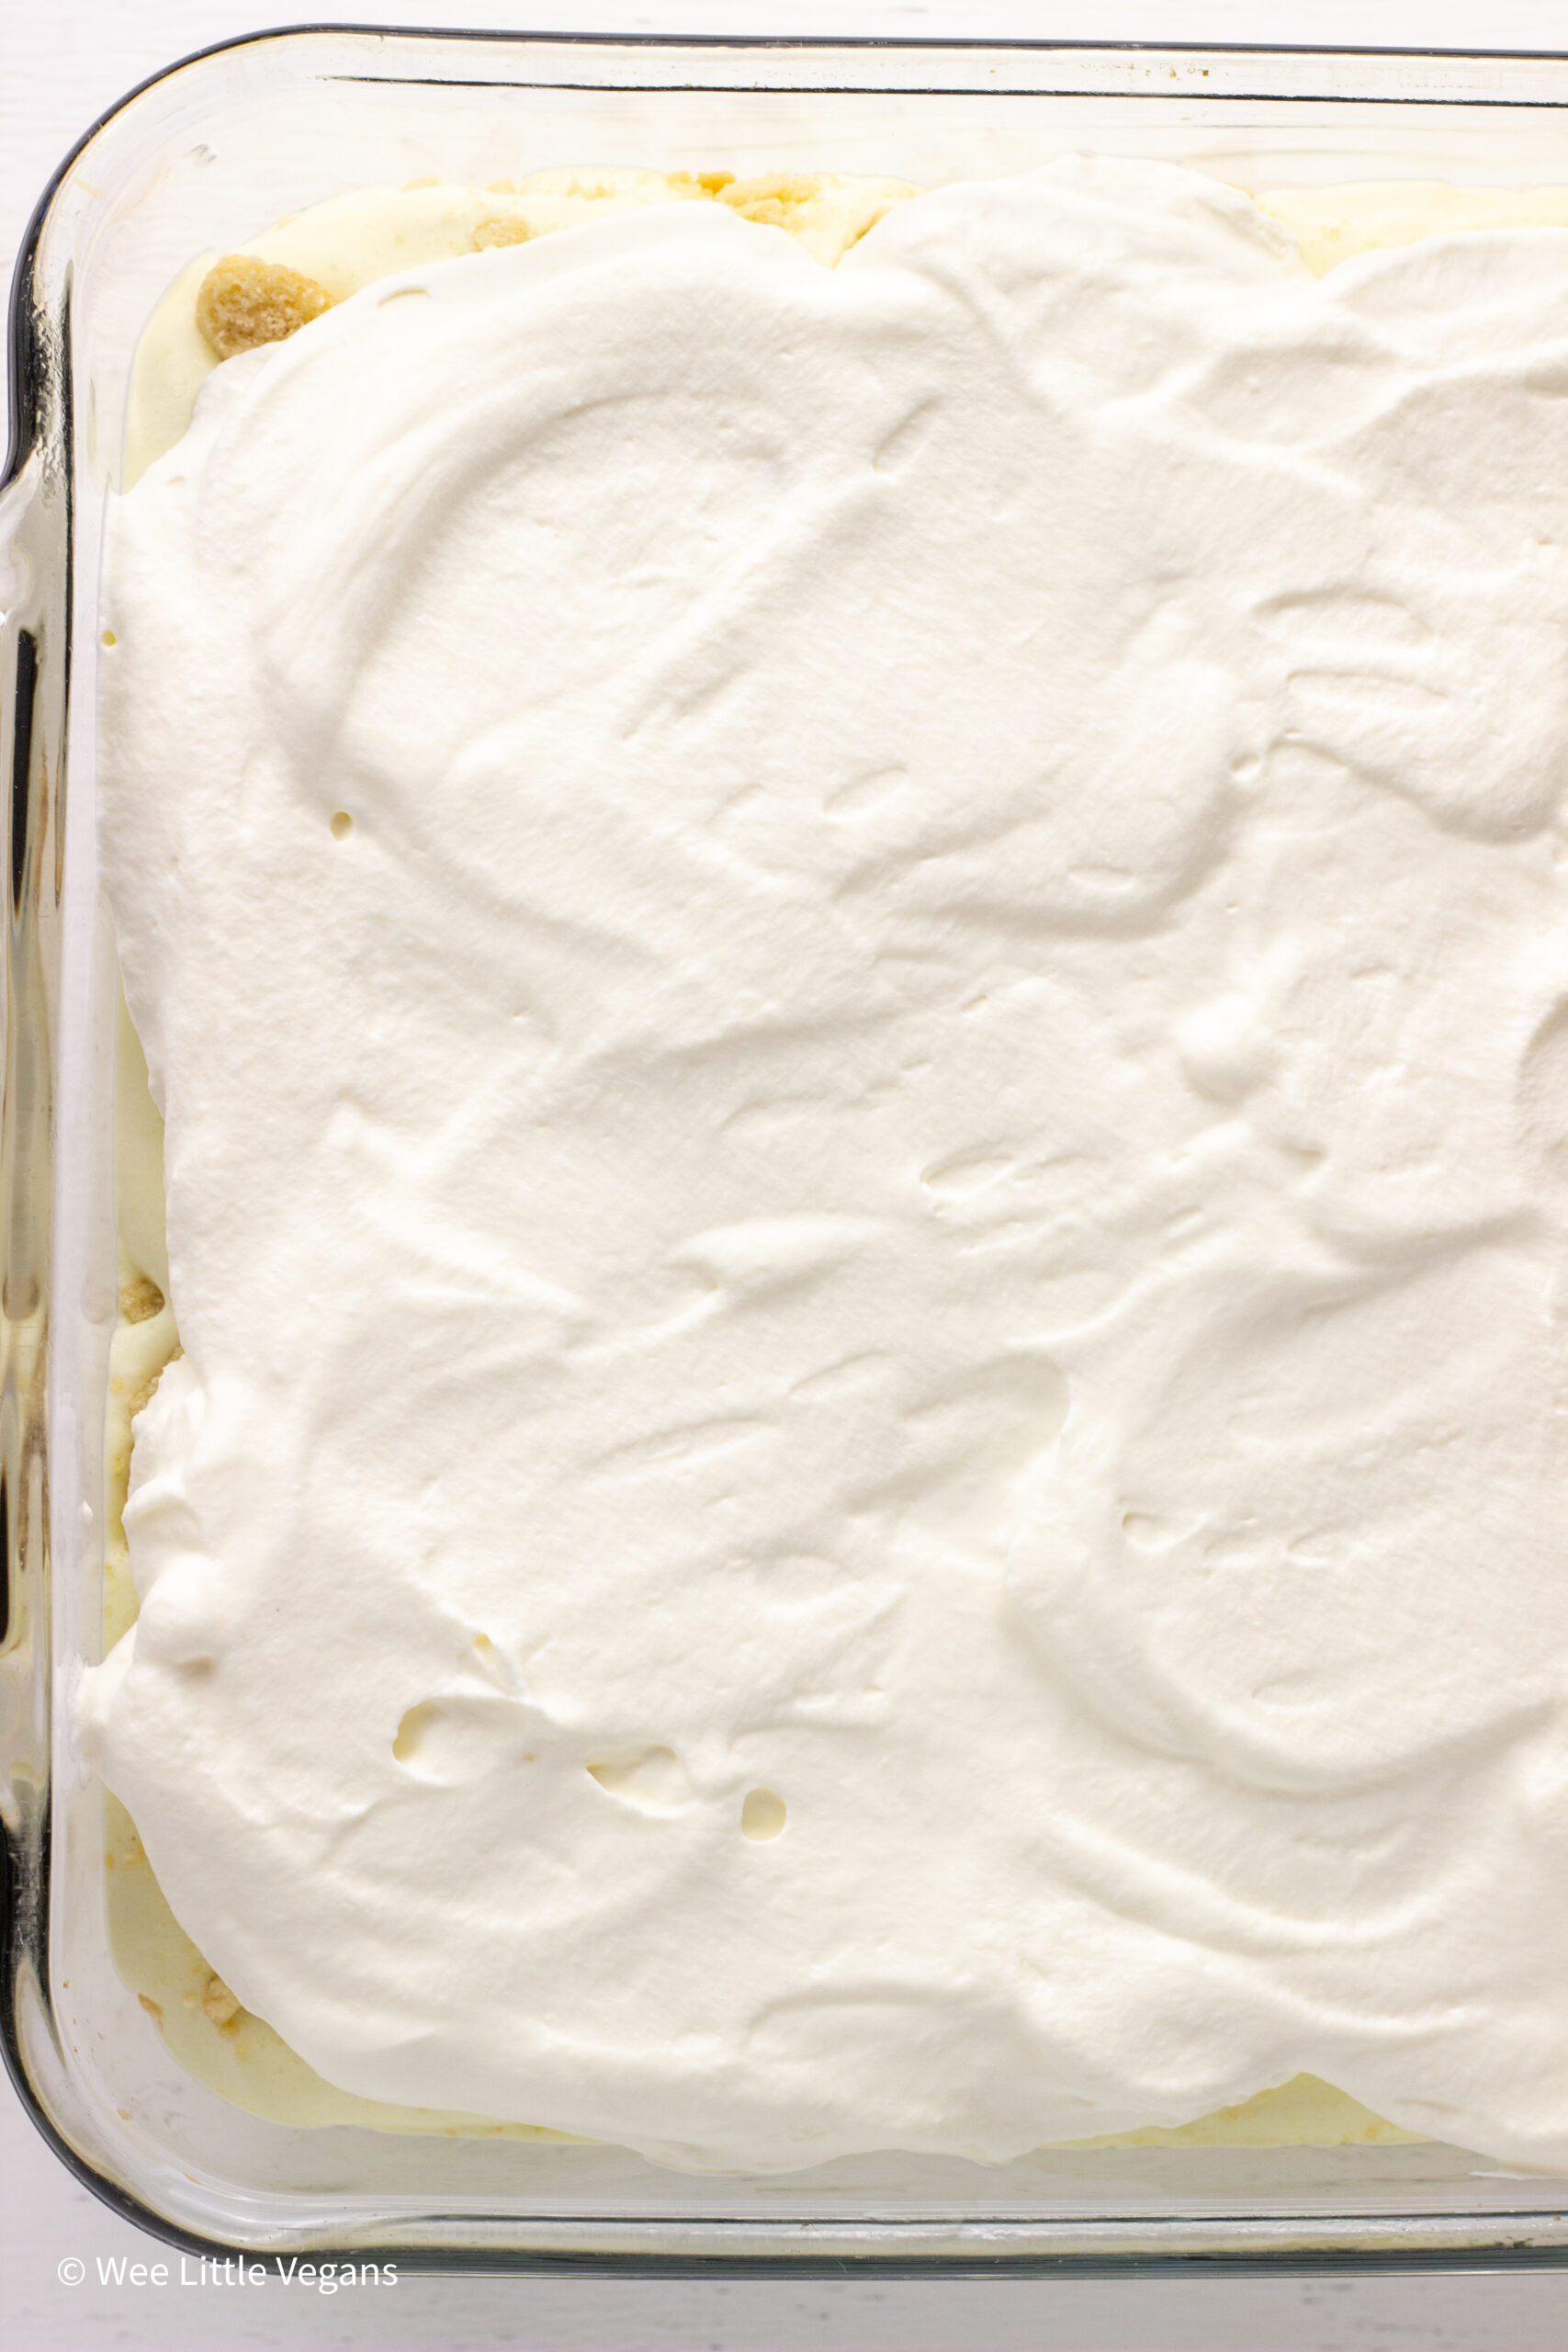
Spread reserved whipped cream over the top and add additional cookies. Cover and refrigerate for several hours to overnight.
💡 Top Tip
You can chill the pudding for a couple of hours and it will taste delicious, but if you can leave it longer it gets even better.
Equipment
You will need a stand mixer or hand mixer to whip cream if using plant cream or coconut milk. I've used an 8X8 casserole dish, but any container of comparable size will work.
Storage
Store this banana pudding covered in the refrigerator. Good for 2-3 days.
Banana pudding does not freeze well. You could make the cookies ahead of time and freeze until ready to make the pudding. To do this follow the recipe up to the last step of shaping, but don't bake. Freeze on the baking sheet until solid then transfer to a container or bag for storage in the freezer. When ready to make the pudding place the cookies on a parchment lined sheet pan and bake according to recipe.
Related
Looking for other recipes like this? Try these:
Pairing
These are my favorite dishes to serve with Vegan Banana Pudding:
Did you make this recipe? Let me know what you think! Leave a review and rating in the comments below. This helps me continue to provide great recipes for you.
Recipe
Vegan Banana Pudding
Equipment
- stand mixer or hand mixer
Ingredients
Banana Flavored pudding
- 2 cups non dairy milk
- 2 cups ripe banana slices
- 3 tablespoon cornstarch
- ¼ cup cane sugar
- ⅛ teaspoon salt
- 1 teaspoon vanilla extract or paste
- 1 tablespoon non dairy butter optional
- pinch of turmeric for color optional
Vanilla Wafers
- ½ cup non dairy butter
- ½ cup cane sugar
- 2 teaspoon vanilla extract, vanilla paste or imitation vanilla
- ¼ tsp salt
- ½ teaspoon baking powder
- 1 ½ cup all purpose flour
- 1 tablespoon non dairy milk
Whipped Topping
- 16 oz plant based whipping cream or store bought non dairy whipped cream
- 2-4 tablespoon confectioner's sugar depending on preferred sweetness
- 2 tsp vanilla extract or paste
Instructions
Banana Flavored Pudding
- Combine non dairy milk and banana slices in a medium sauce pan. You can use ripe fresh or frozen bananas.
- Bring to a simmer over medium heat stirring often to prevent scorching. Once simmering remove from heat, cover and let cool before refrigerating at least 4 hours up to 24 hours. The longer the milk rests the stronger the banana flavor will be.
- After the milk has rested, pour it through a fine mesh strainer to remove bananas and discard. In a container, whisk together ½ cup of milk and cornstarch. Pour the remaining 1 ½ cups of milk into a medium sauce pan. Add sugar and salt, stirring to combine. Then whisk in the cornstarch mixture.
- Heat over medium heat until small bubbles begin to form around the edges of pan. Cook until pudding thickens whisking continuously to prevent burning. It should coat the back of the spoon. Test by running your finger over the spoon. It should leave a clean line through the pudding. Stir in turmeric at this stage if using.
- Remove from heat. Stir in vanilla and non dairy butter, if using. Transfer to small ramekins or bowls and cool at room temperature before covering.
- Refrigerate for 2-4 hours. To prevent a skin from forming on the surface of pudding cover with plastic wrap or waxed paper, if desired.
Vanilla Wafers
- Add non dairy butter and sugar in the bowl of stand mixer or use a large bowl with a hand mixer. Cream together until light and fluffy about 2 minutes. Add vanilla and non dairy milk. Mix again to incorporate.
- Add salt, baking powder and half of flour. Combine to incorporate. Add remaining flour and combine just to form dough. Don't over mix. Wrap dough in plastic wrap and refrigerate for one hour.
- Preheat oven to 325 degrees. Line two large baking sheets with parchment paper or silicone baking mats.
- Roll chilled dough into small balls, about 1 teaspoon of dough. Place on prepared baking sheets leaving space between each.
- Flatten the balls. Lay a small piece of parchment paper or wax paper on top and use the bottom of a cup to press down evenly.
- Bake for 22-24 minutes. The cookies will be a little soft, but will crisp more as they cool.
Whipped Topping
- Pour whipping cream into bowl of stand mixer or a large bowl to use a hand mixer.
- Add confectioner's sugar and vanilla. Whip until cream thickens and stiff peaks form.
- Reserve 1 -1 ½ cups of whipped cream for the top of dessert. Fold 1-2 cups of remaining whipped cream into banana flavored pudding until no streaks remain. You will have leftover whipped cream.
Assemble Pudding
- Use a food processor to crush about 20 vanilla wafers. You can also leave wafers whole if you prefer.
- Spoon enough pudding mixture to cover the bottom of an 8x8 dish.
- Sprinkle crushed wafers over top of pudding layer or place whole wafers over the pudding.
- Spoon more pudding over the wafer layer. Then top with more crushed wafers. Continue this layering process until all pudding has been used.
- Spread reserved whipped cream over the top and sprinkle with crushed wafers, top with whole wafers or a combination.
- Chill for a minimum of two hours up to overnight.


Did you make this recipe? Let me know!